Leaderboard
Popular Content
Showing content with the highest reputation on 03/05/2023 in all areas
-
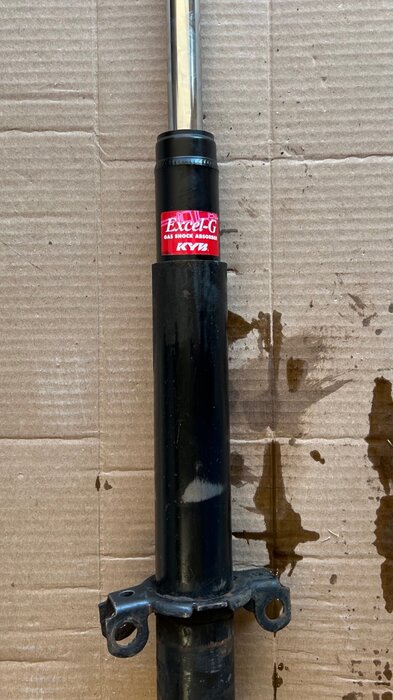
When installing a KYB strut cartridge do not put any water, oil or Does any fluid need to be put into the strut housing when replacing a cartridge-style strut? When installing a KYB strut cartridge do not put any water, oil or any other liquids inside of the strut housing. Any existing fluid should be removed from the housing before installing the new cartridge. KYB cartridges are designed and engineered to operate without any additional liquids. This is what I found on the KYB site regarding fluid around the insert. It seems pretty emphatic😎 any other liquids inside of the strut housing. Any existing fluid should be removed from the housing before installing the new cartridge. KYB cartridges are designed and engineered to operate without any additional liquids.2 points
-
2 points
-
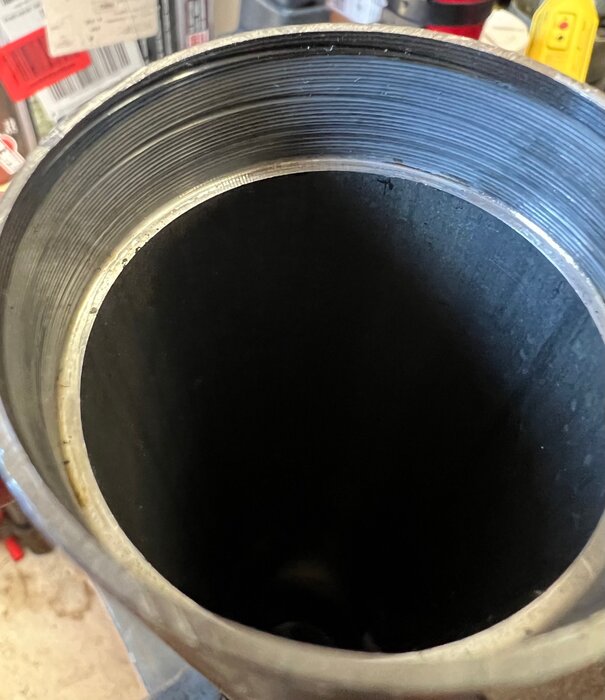
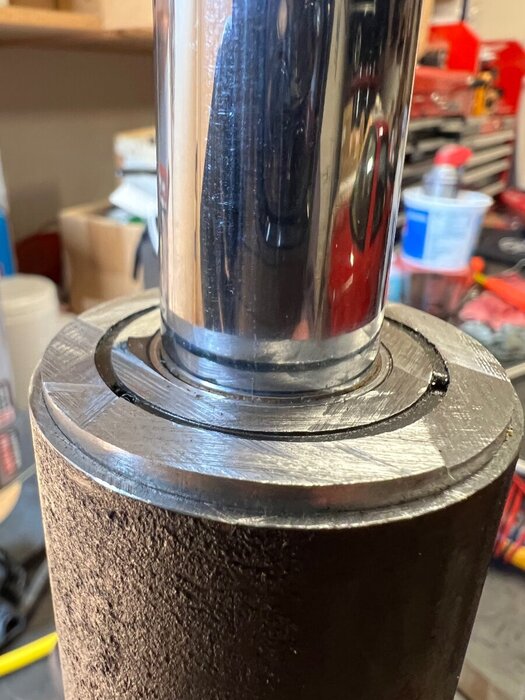
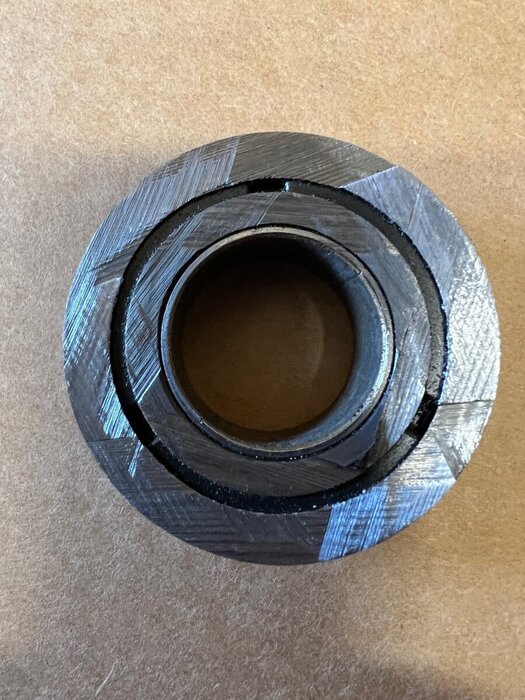
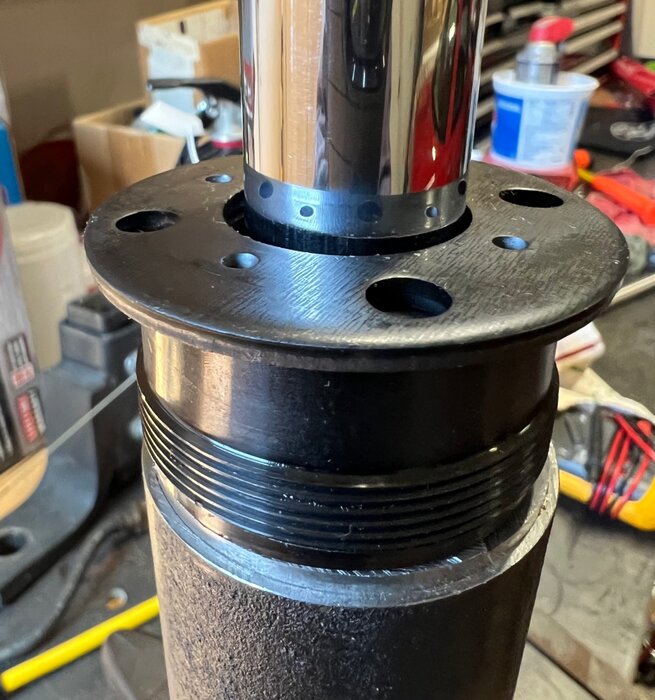
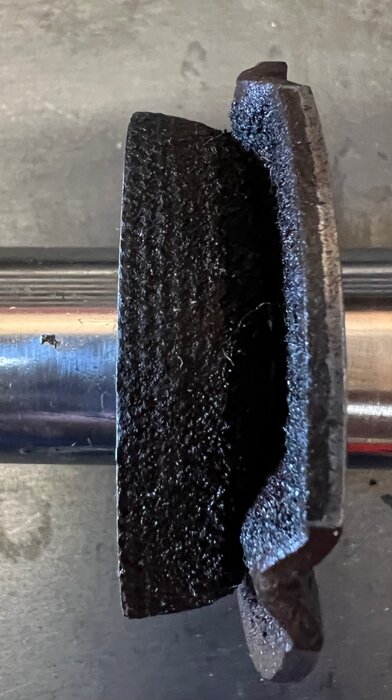
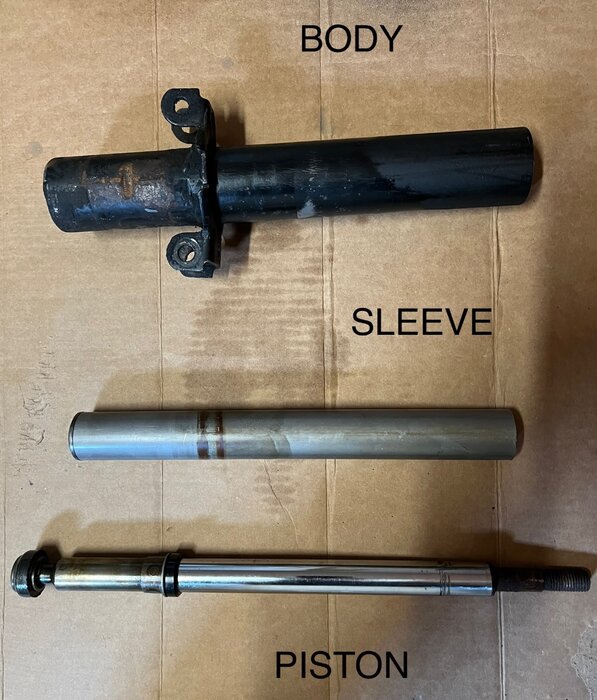
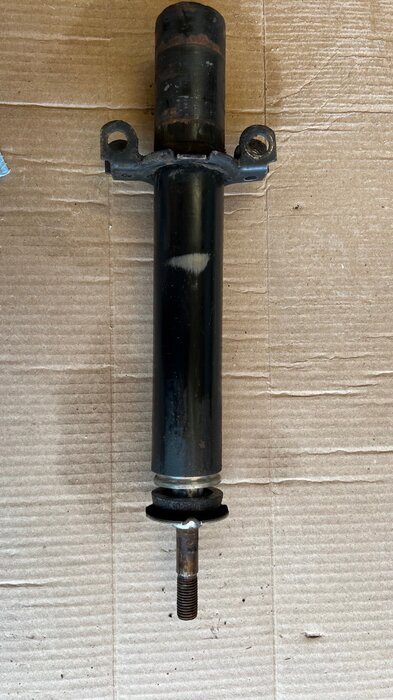
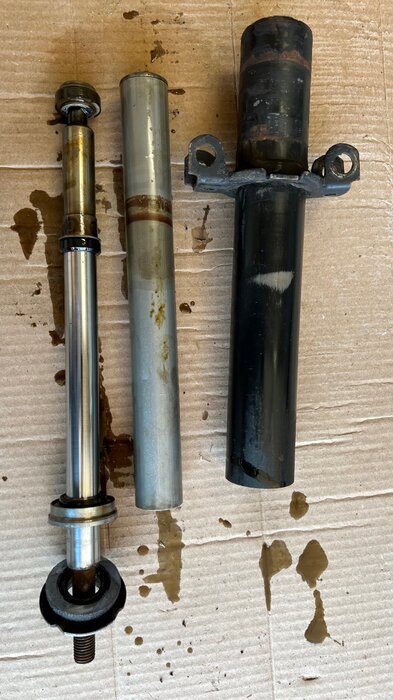
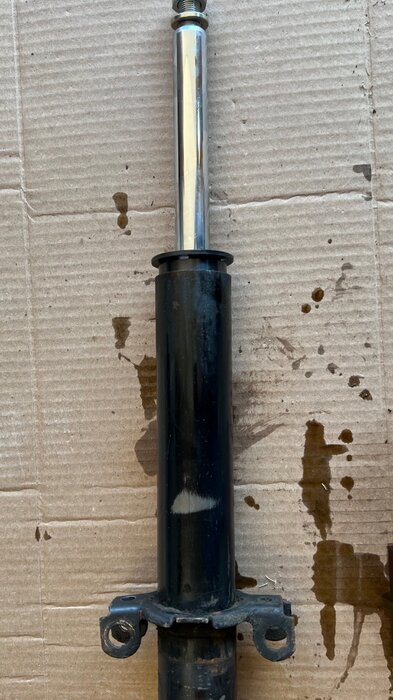
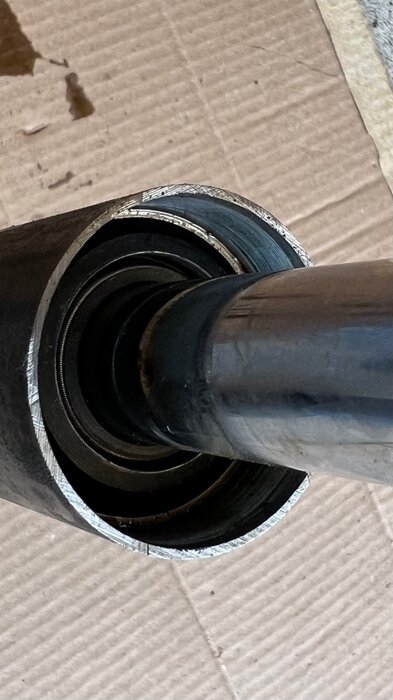
Point well taken on lateral forces applied to the strut assembly. Looking @ the internals of the original strut, there are other pieces that can be reused with the drop in cartridge, mainly the “upper retainer”. Top view of strut at cut line: The body wall is machined to accept an upper retainer. Wall thickness: Machined Portion: 1.56 mm Remainder of body: 3.06 mm OEM Upper Retainer Side View: Diameter Top: 51.2 mm Diameter Bottom: 41.78 mm Upper Retainer; Top View: The bandsaw cut lines ar visible on the upper retainer in photo above. Upper Retainer; Bottom View: Upper Retainer on strut cartridge: Strut cartridge and upper retainer inserted into strut body. (At the moment, the upper retainer does not go into the strut body fully as it contacts the top of the strut cartridge. Modification to the upper retainer would solve this) The strut was cut just below the curvature at the top of the strut to maximize the usable length of the strut body. Using the OEM upper retainer holds the strut cartridge firmly in place. The bottom of the cartridge is forced into the concave bottom of the OEM base (similar to the OEM hydraulic components) and is held in place by compression of the top gland nut. The top assembly may need to be redesigned to thread on the outside of the OEM strut body vs. the inside due to overall body length increase that would be required to use KYB top gland nut (below). The threaded portion of the OEM strut is longer than the strut cartridge: OEM: 68.82 mm Strut Cartridge: 35 mm diameter measurements at each step are similar: threads: OEM: 15.75 mm Insert: 15.75 mm sleeve portion: OEM: 16.9 mm Insert: 16.84 mm piston: OEM: 24.8 mm Insert: 24.75 mm If the length of the threaded portion is an issue for mounting in the upper strut tower, it can be solved in a similar fashion as the Cardone Allante strut modification discussed earlier in this thread. overall length from cut line: outer: 13.75” inner: 13.5” OEM strut body: OD: 54 mm ID: 47.66 mm (body) ID: 50.95 mm (machined upper portion) OEM inner piston sleeve: this piece accepts the piston and fits into the strut body OD: 38 mm KYB Cartridge: OD: 46 mm (body) OD: 42.63 mm (bottom taper) OD: 32.5 mm (bottom foot weldment) Let me know if additional measurements are needed. All measurements are as accurate as could be taken with available instruments.1 point
-
That answers a question I was wondering about. Without something to hold it in place on the bottom end, not only would it rattle, the alignment of the knuckle would change as it moved around.1 point
-
1 point
-
Based on DPS.01's pictures, it should be very possible to use the original strut housing as the new retainer housing for a strut insert. Note, the original rear struts are NOT insert types, but the old housing should be readily usable as a retainer for an insert. IF YOU HAVE BAD STRUTS, DO NOT THROW THEM OUT! Does anyone have a donor failed Reatta rear strut they would be willing to send me? If so, I will do all of the solid modeling and work with a local machine shop on the weldable adapter. Will also need a ring to pot the base of the insert and to keep it secure within the diameter of the original housing. Definitely do not want it rattling around inside the housing.1 point
-
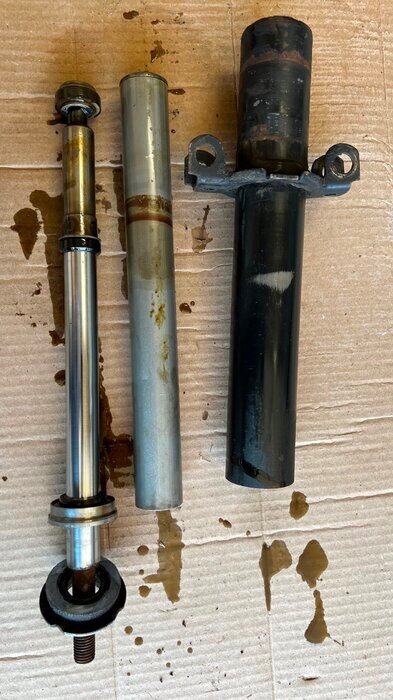
That depends on what you are referring to as an insert. The original Reatta strut did not have a self contained insert, and was not designed to be rebuilt. It is hydraulic and uses oil to create resistance. Most of the oil was expelled from the strut before it was cut open (it completely failed). Shown in the tear down photos are a piston, sleeve and other dampening components that are assembled and completely submerged in hydraulic oil. The Monroe 71966 was a direct replacement gas strut upgrade for the Reatta when it was available. The concept shown in the photos uses a self contained gas strut drop in cartridge designed for the front strut on a 1996 Buick Regal.1 point
-
Great car, low miles, complete owner's portfolio with all the goodies, makes it quite desirable, for those who can handle the red on red on red. I've never been able to get "what I put into it" back out of a car, and your winning the BAT auction at $18,000 means, essentially, that no one else was willing to pay that much. Maybe you'll do better than I do at these things :-).1 point
-
Oh good, I have the Monroe version of that same strut in my garage. Will use that along with dimensions off the Riviera struts that will arrive tomorrow to build a weld adapter. I should brush up on my welding skills, this might be a side hustle, rebuilding old shocks.1 point
-
It should work. 1. A KYB 366004 strut insert was used. 2. Place absorbent material under the strut, and cut the Reatta strut just below the top weldment. Drain any remaining hydraulic fluid. (If donor strut still has resistance, drill a small pilot hole to relieve pressure prior to cutting.) 3. Pull the inner workings out of the OEM strut. 4. Insert KYB strut cartridge 5. Fabrication is required for a top threaded interface to weld onto the strut that will accept the threaded gland (~51 mm). Need to speak w/ machine shop. The gland nut supplied by KYB has a smaller OD than the ID of the Reatta strut and simply slips into the strut housing as shown below with no interference. 6. Per KYB, do not add oil to strut housing during assembly (see comments later in this post). 7. Install gland nut 8. Install on Reatta1 point
-
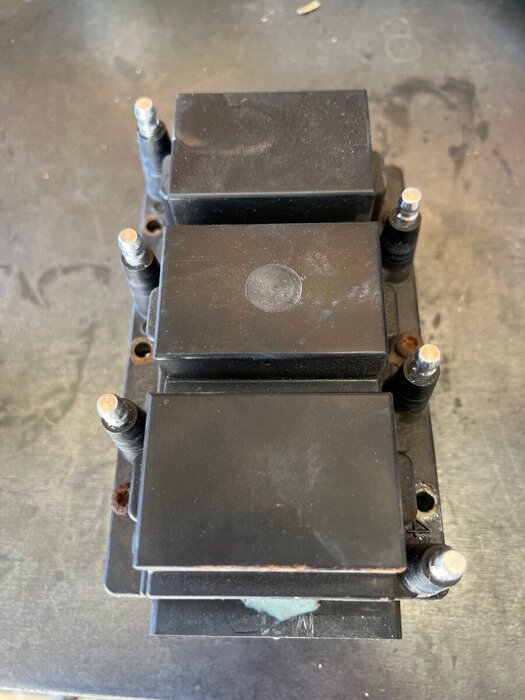
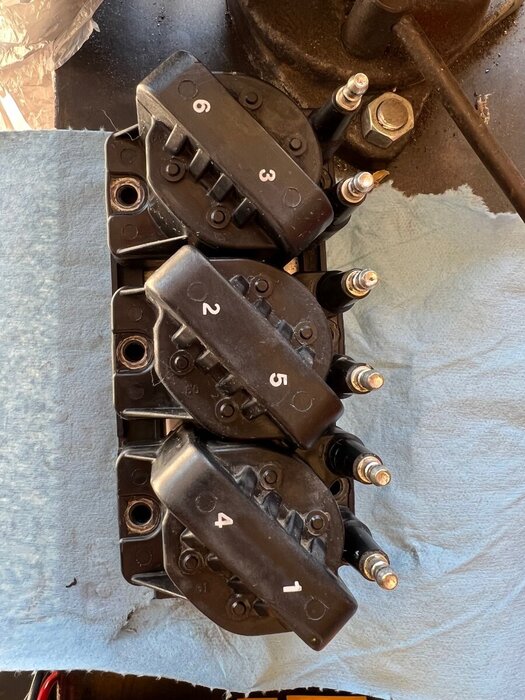
I took Padgett’s advice… 1993 Buick Regal donor. OEM (with failed potting compound): Donor: Thanks for the excellent write up and cross reference information contained on this website. Want to use the concept on a 1987 Grand National… uses the same Magnavox Coil Pack, but ignition control module is different (but fails the same way)… may not be possible, that search continues.1 point
-
First thing to understand is the on board diagnostics that display on the CRT. ee the Diagnostics tab at the top of the page.1 point
-
Welcome to the forum. At the top of the page, you'll find a drop-down "How-to Guides". There's lots of info maintained by Ronnie there to help you out.1 point
-
To be honest, it has been so long ago that I don't remember. Just by looking at the photo, I think I must have put a glob of solder on the end of the cable. or I might have found something to crimp on the end of the cable. Then just clipped the cable in the latch with the other cable. Next time I have the car up where I can see it I will take a look at it.1 point

