Leaderboard


Popular Content
Showing content with the highest reputation since 07/16/2025 in Posts
-
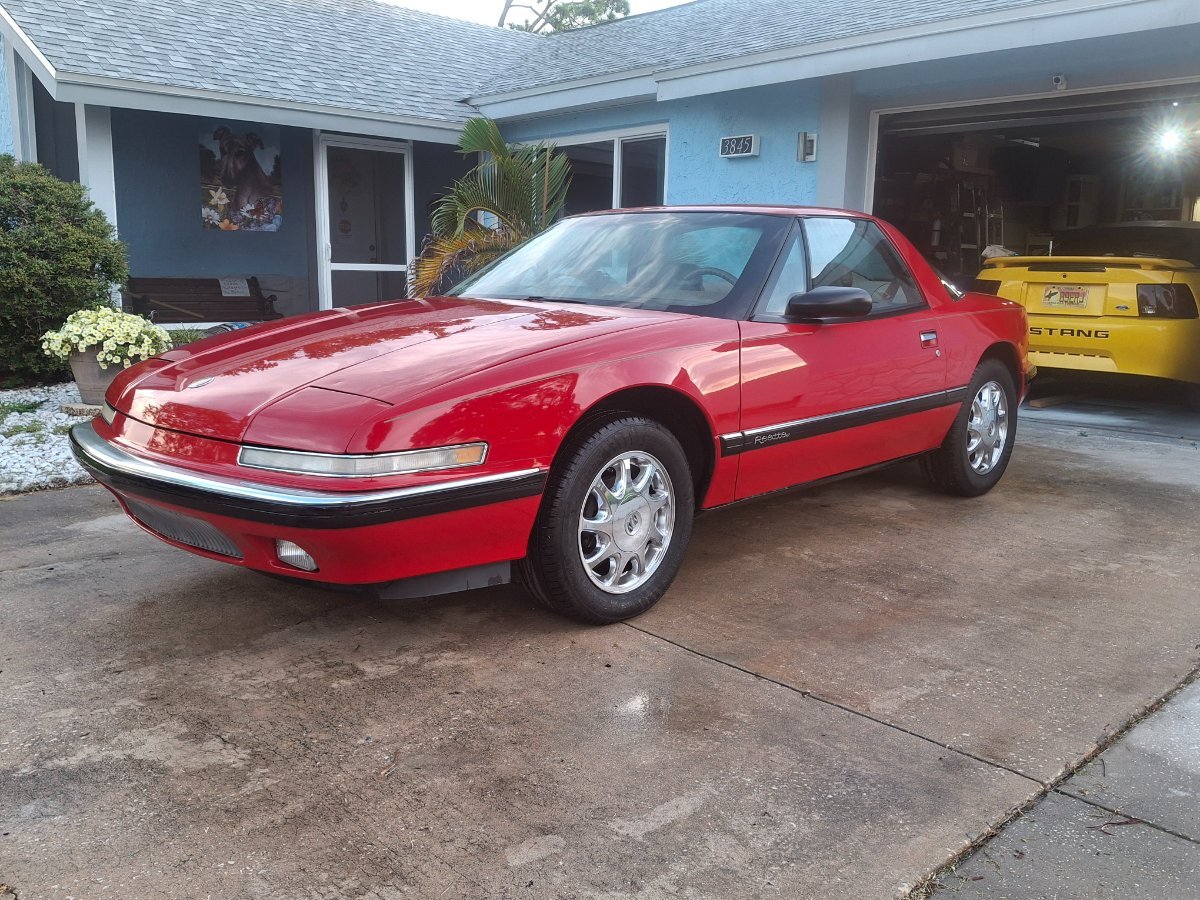
Greetings to the Reatta community. I recently purchased a 1991 Reatta that was featured on Barn Finds, and listed on Ebay. It was a one family car since new, in pretty nice shape, 63K. Red with saddle interior. Not my favorite interior color, but the red/tan combo looks good enough for me. It was shipped from Cincinnati down to it's new home here in Florida. Arrived on Tuesday, and has gotten a wash, clay bar, wax, and started fiddling with buffing out the oxidized tail light and front running lights. Interior is in good shape, but will be totally gone through as well. The only issue that does need attention sooner than later is the not cold AC. I was amazed to see the car has a "service AC" light on the dash. I will change out all the light bulbs to LED, upgrade all the speakers, and maybe the head unit to something modern with either XM or Bluetooth. Looking forward to learning about this great car thanks to this site. Peace, John
 1 point
 -
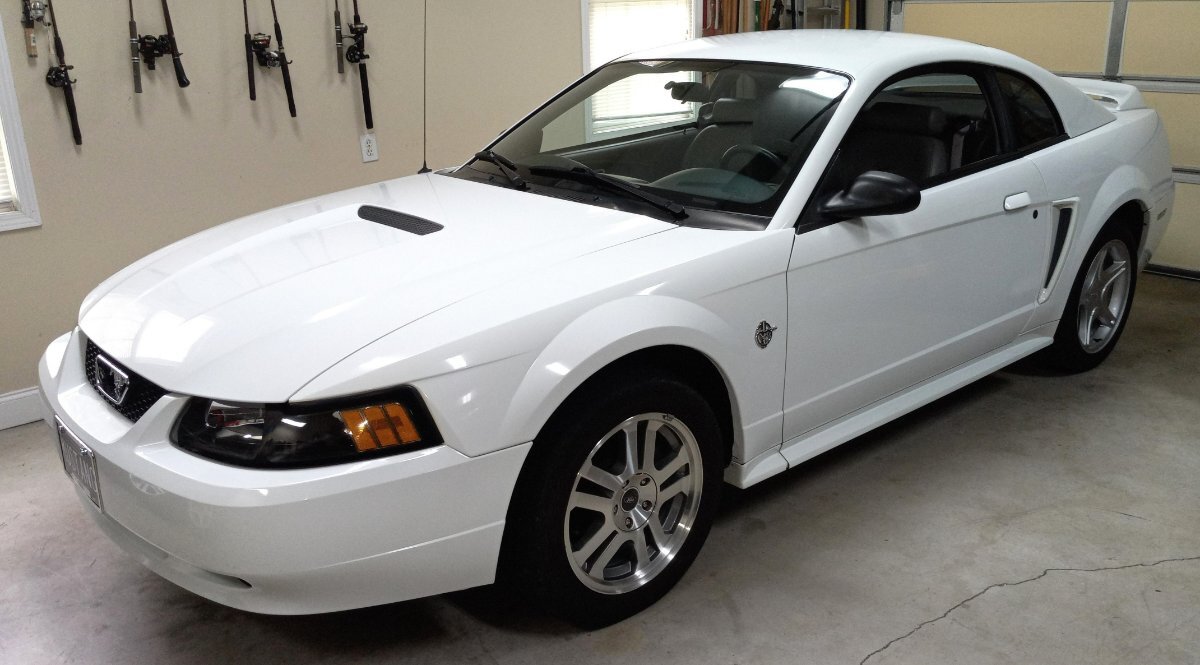
It was a long process, with a Mercedes in the running at one point, but in the end a Mustang won the fight for a stall in my garage. 🙂
1 point
-
Look at that! Both a Mustang and a Reatta can coexist in the same garage!1 point
-
Welcome to the forum, John. There is a wealth of information here along with a bunch of very knowledgeable people, too. If you are not currently a BCA member along with a Reatta Division member, you might consider joining each club. Buick Club Of America | Dedicated to the preservation and restoration of automobiles built by Buick , Reatta.org – A Division of the Buick Club of America1 point
-
Well, I got permission from my wife and spent some of my first communion money. Bought 5 sets of Monroe 71831's and will remove all the brackets, paint, add the pinch bolt dimple (will require a hydraulic press) and attach the sway bar adapters. Thinking $240 per pair plus shipping, will see how the first few go. Reasonable? Will post pictures when the first set is complete. PM me if interested in a set, pending prototypes.1 point