Leaderboard

Popular Content
Showing content with the highest reputation since 06/30/2024 in Posts
-
The forum has been overwhelmed with an attack by spammers trying to register for an account, mostly from Russia. For that reason I have temporarily disabled new forum registrations. I'm hoping that the spammers will go away soon and new forum registrations can be restored. Sorry for any inconvenience this may cause.5 points
-
After two failures of brand-new AC Delco HR6 Compressors, I did some research and found that there is a known manufacturing defect, or "decision" as it might be put. For whatever reason, GM removed the dowel pin from the body of the compressor. Some speculate that it was done to make it easier to assemble at the factory. There is just one problem with this. When the unit is installed on the car, tightening the bolts without using shims to make the mounting surface fit perfectly flush with the compressor results in the compressor housing twisting and coming apart at the seams in the middle of the housing, and complete loss of refrigerant in short order. There are improved aftermarket versions of the compressor available that have dowel pins wisely reinstalled where they belong to keep the compressor body intact. Note that these compressors use PAG 46 rather than the PAG 150 of the original design. I hope this helps someone else who may be experiencing this problem, or prevents it from happening entirely.5 points
-
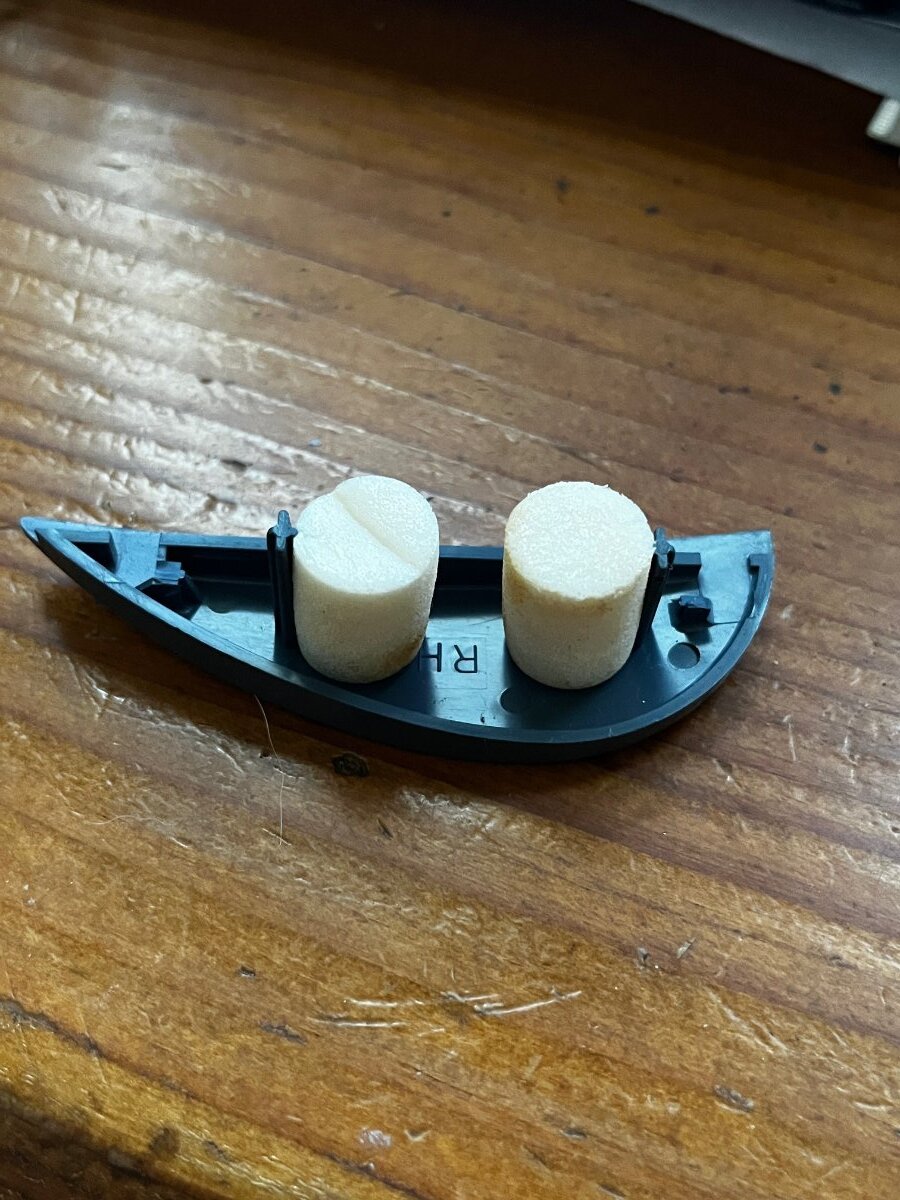
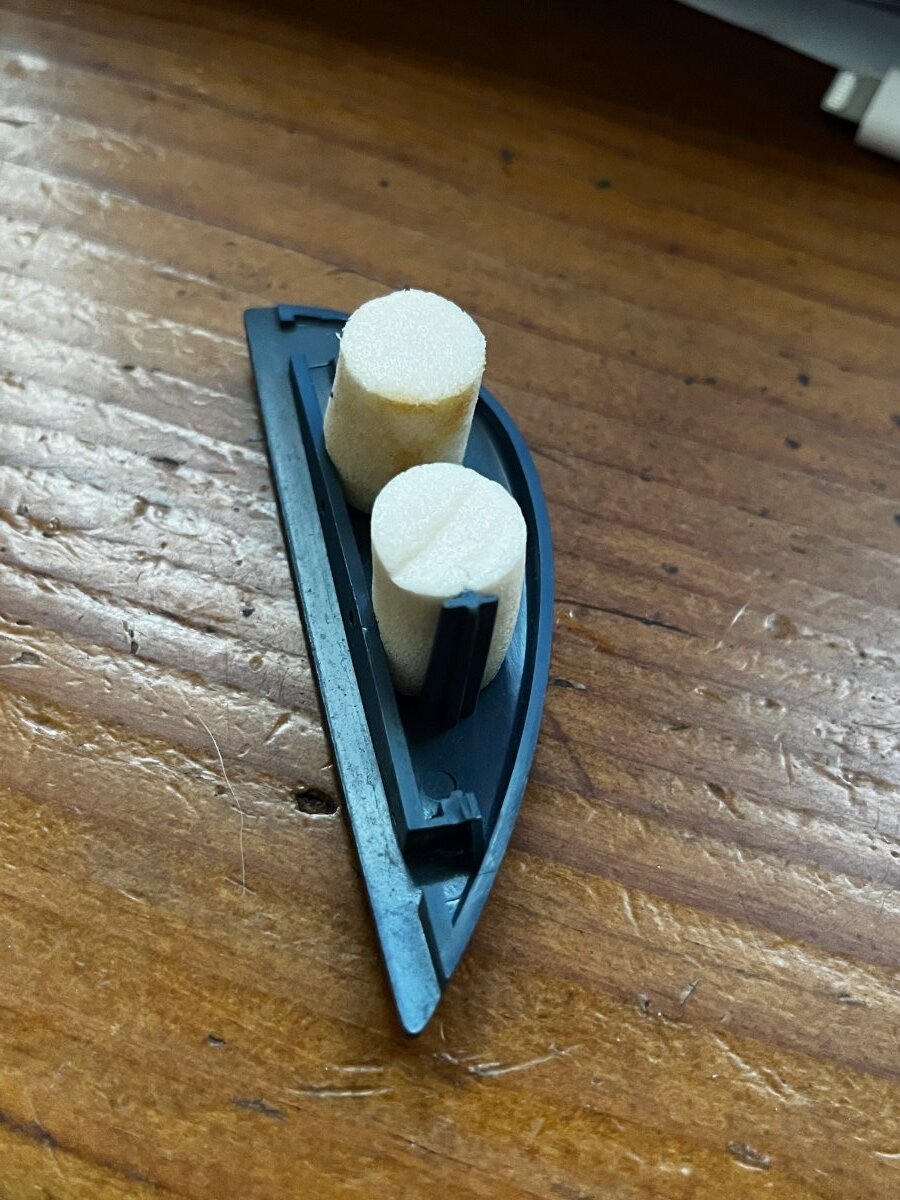
Yes one of my horn buttons finally popped off/broke and I was facing removing my steering wheel and figuring out a better mouse trap. Don't know if I did, but check it out--I glued a pair standard foam earplugs, cutting a slot to fit along the plastic tabs, and glued the button back into place. Seems to be the exact depth, rebounds after making contact, and so far has stayed in place, even in the Los Angeles sun. I used Permatex clear RTV silicone adhesive. Too simple to be true?
 4 points
 -
Just today hit 333,200 miles on the Red of which almost exactly 220,000 were put on by me. Bought the Red in December of 2006 for my 50th birthday. Flew to Fort Lauderdale to get it. Bought it from a private party and drove it home. Took the rest of the fly in day and the next to get home. Had my first experience of sleeping in a Reatta with 16 way seats!3 points
-
The servo was used on multiple GM cars in multiple years. take a walk through a you pick yard and look for a lower mileage Buick. Once you get it off suck on the big hose nipple. If it holds while you have vacuum on it, it probably is good.3 points
-
Greetings to the Reatta community. I recently purchased a 1991 Reatta that was featured on Barn Finds, and listed on Ebay. It was a one family car since new, in pretty nice shape, 63K. Red with saddle interior. Not my favorite interior color, but the red/tan combo looks good enough for me. It was shipped from Cincinnati down to it's new home here in Florida. Arrived on Tuesday, and has gotten a wash, clay bar, wax, and started fiddling with buffing out the oxidized tail light and front running lights. Interior is in good shape, but will be totally gone through as well. The only issue that does need attention sooner than later is the not cold AC. I was amazed to see the car has a "service AC" light on the dash. I will change out all the light bulbs to LED, upgrade all the speakers, and maybe the head unit to something modern with either XM or Bluetooth. Looking forward to learning about this great car thanks to this site. Peace, John
3 points
-
I was able to purchase them at my local Lowes store. There is an assortment of them in drawers in the hardware section.3 points
-
No, they are solid aluminum and can be buffed. The top layer is anodized and really should be stripped and then buffed. When you are finished you have bare aluminum. I took mine off and stripped them, then I took them to a fellow I know and he polished them, only the part that shows. To keep them shiny I polish them with a product the polisher recommends. It's called " White Diamond."3 points
-
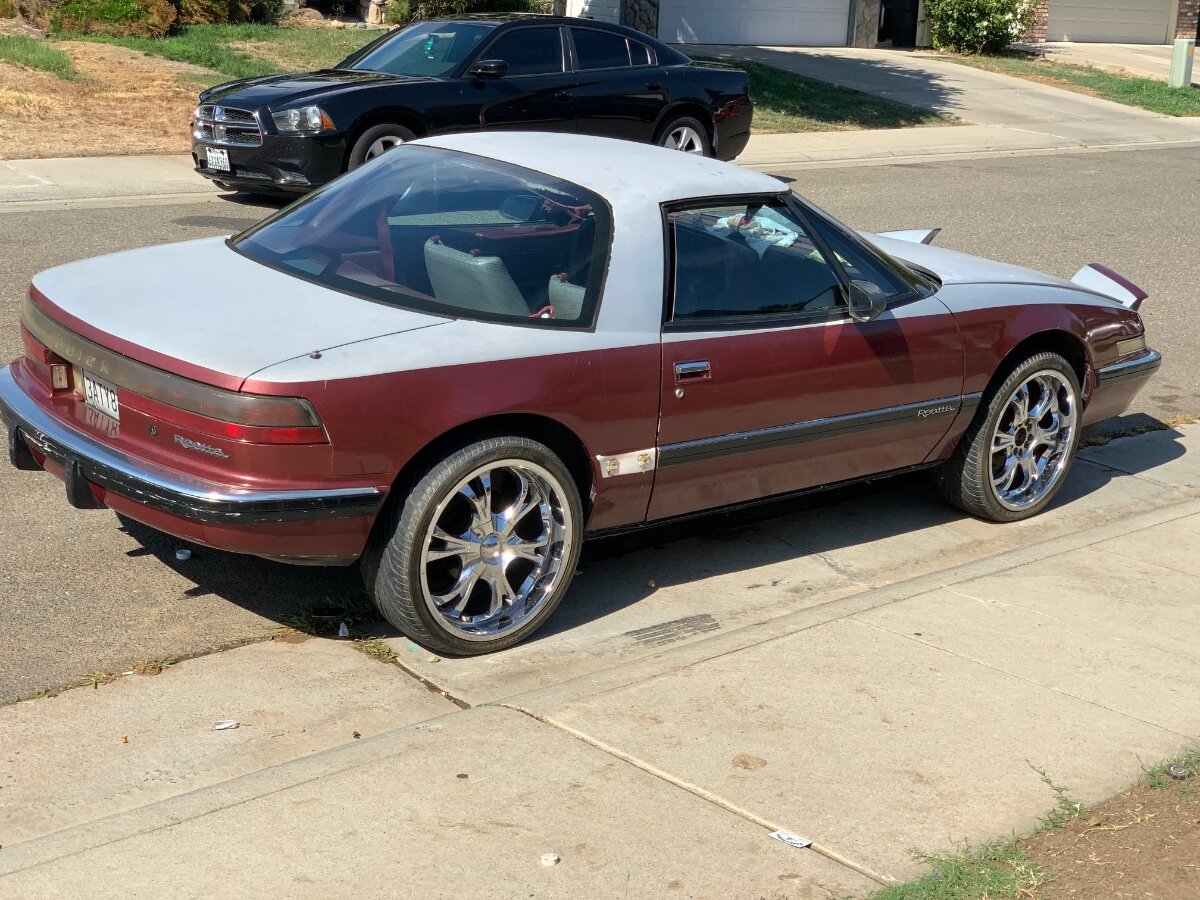
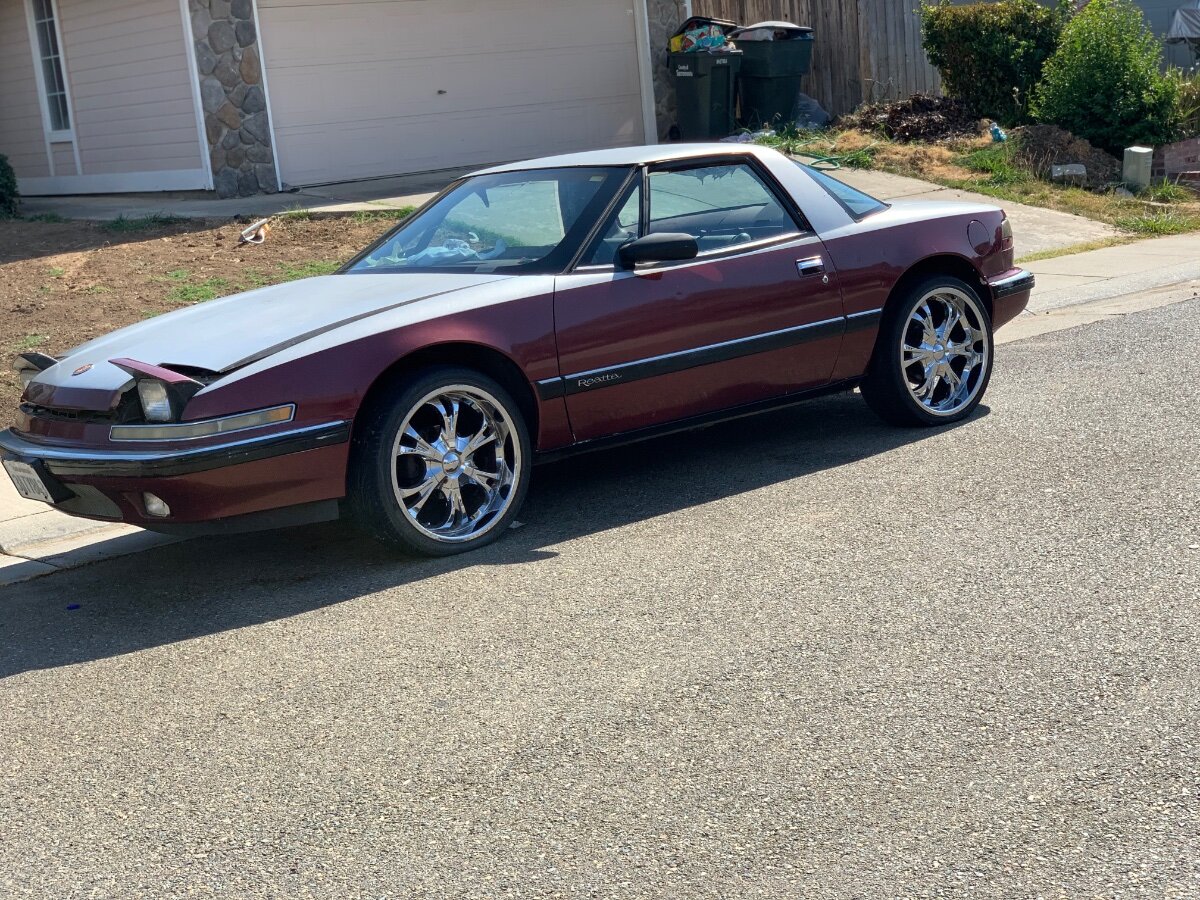
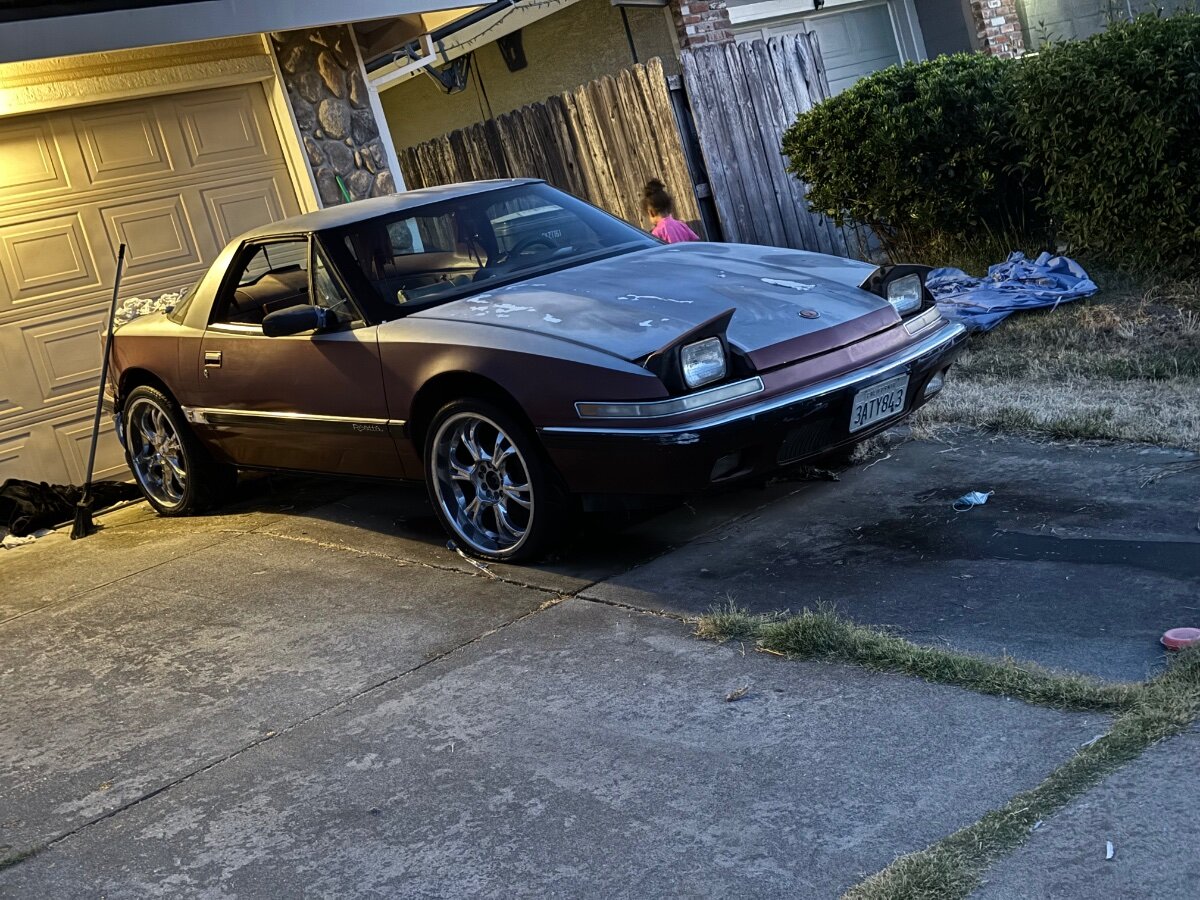
My reatta isn’t nice like most of the ones in here but very soon it will be my dad painted it put rims on it and changed the seats for me to like it 10yrs ago everything else on this car is original from 1989 when it was manufactured as a teenager I didn’t think much of it I’m a little older now I’ve fell in love with it the 1st time I spent money on in April of this year its just the rarity and Chase of finding parts. Boy when I tell people the parts are for a 1990 Buick reatta with 73k original miles the responses and reactions make me fell as if brand new Porsche… Can’t wait to hear the responses my kids get with it
3 points
-
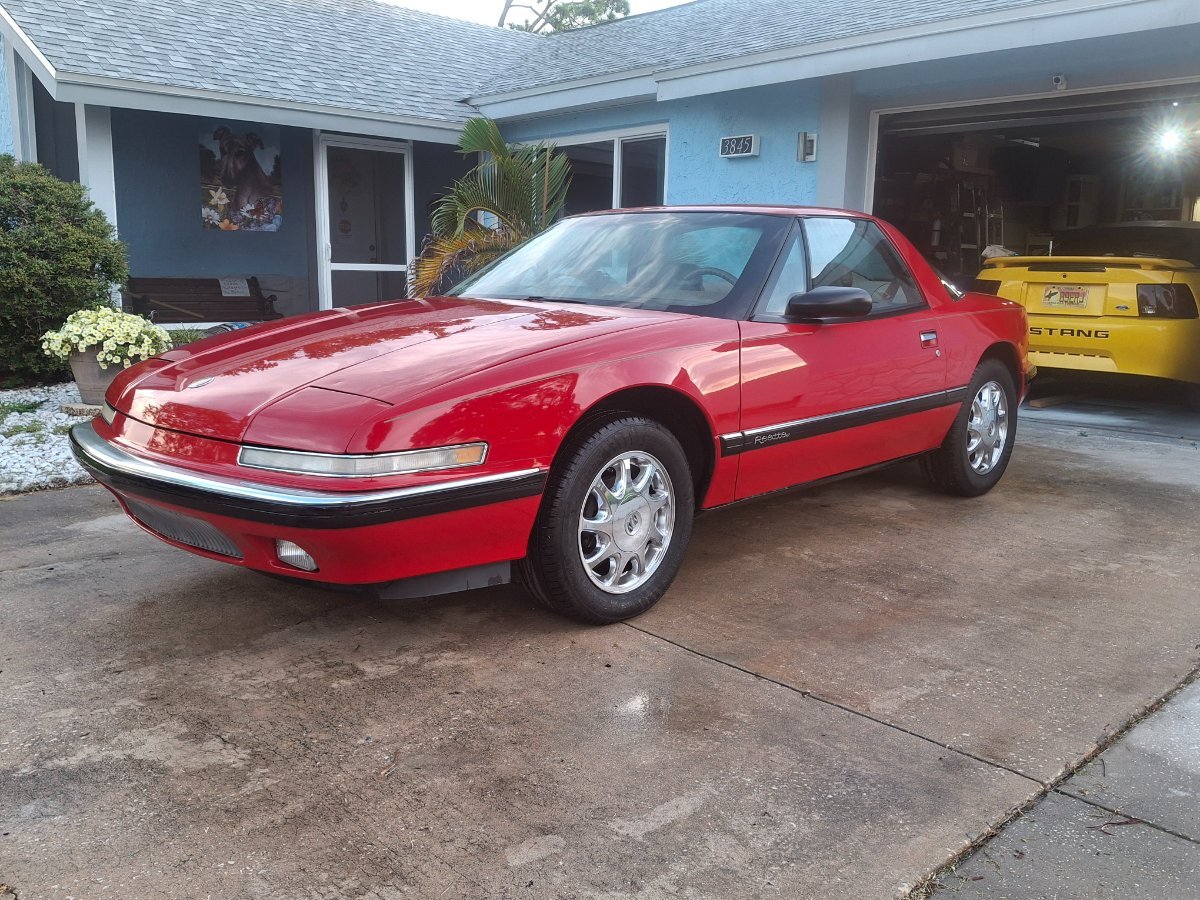
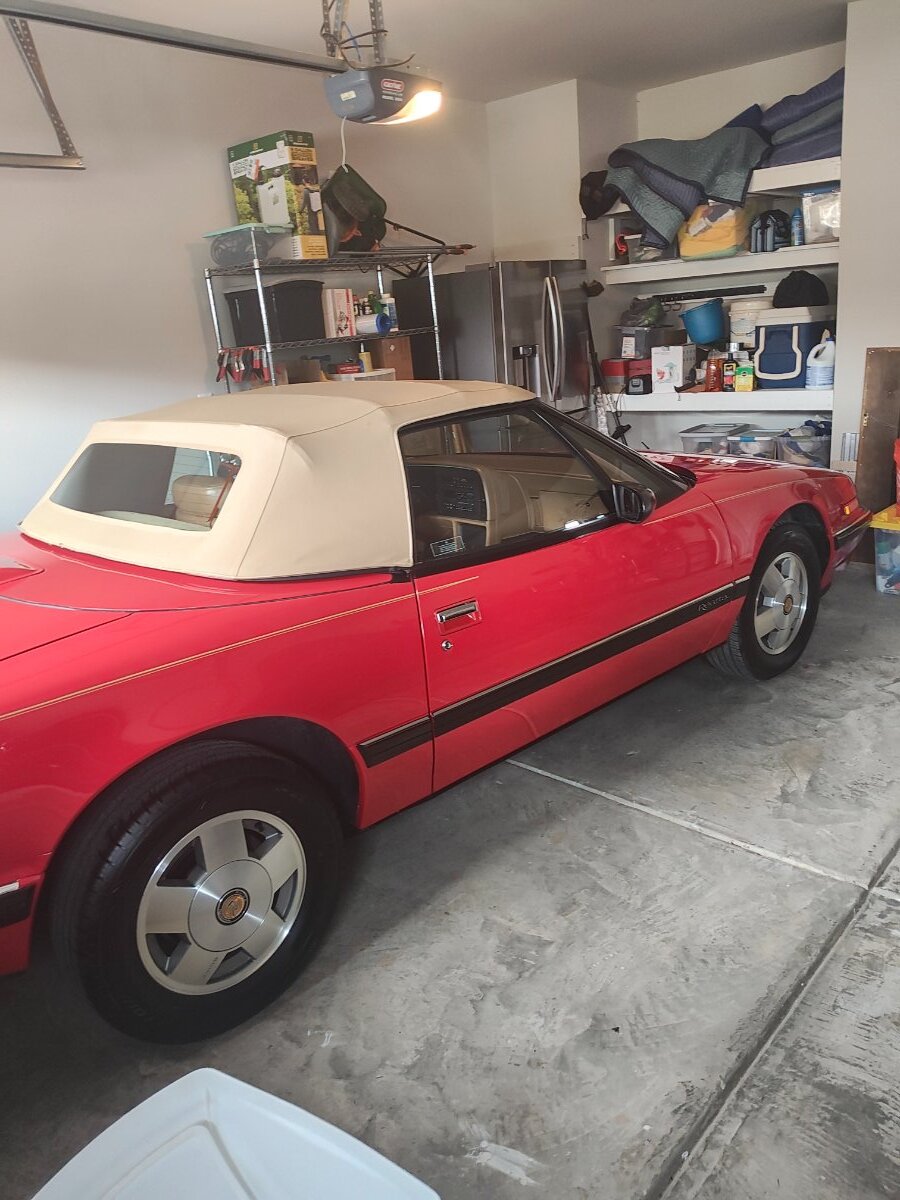
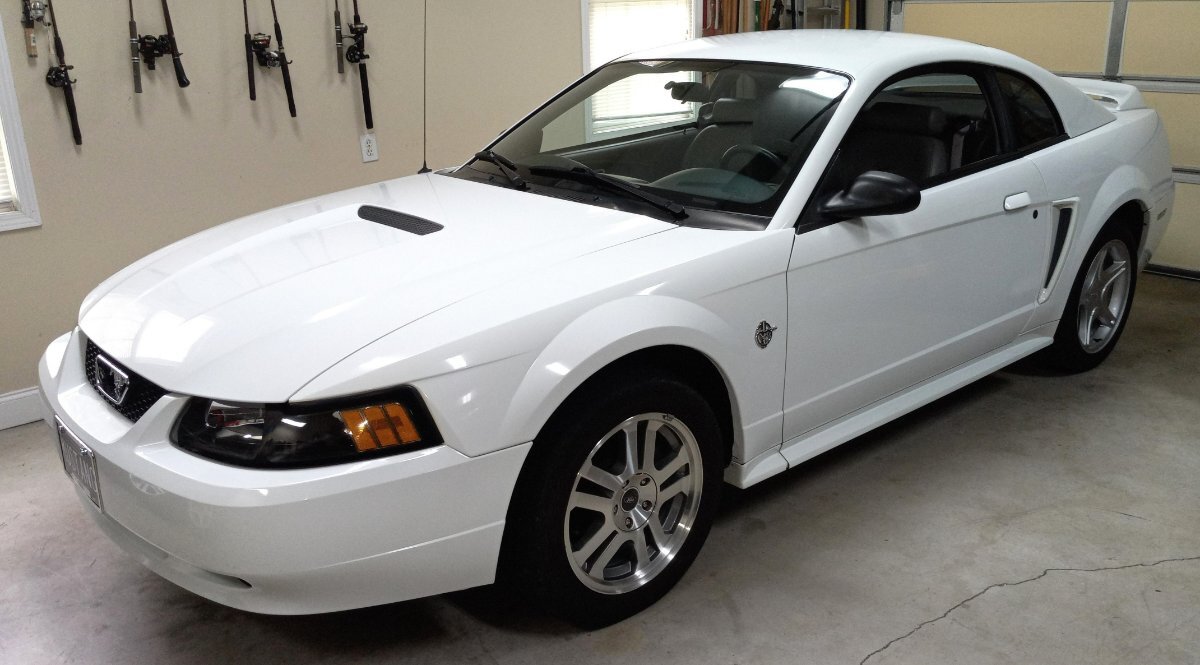
Look at that! Both a Mustang and a Reatta can coexist in the same garage!3 points
-
3 points
-
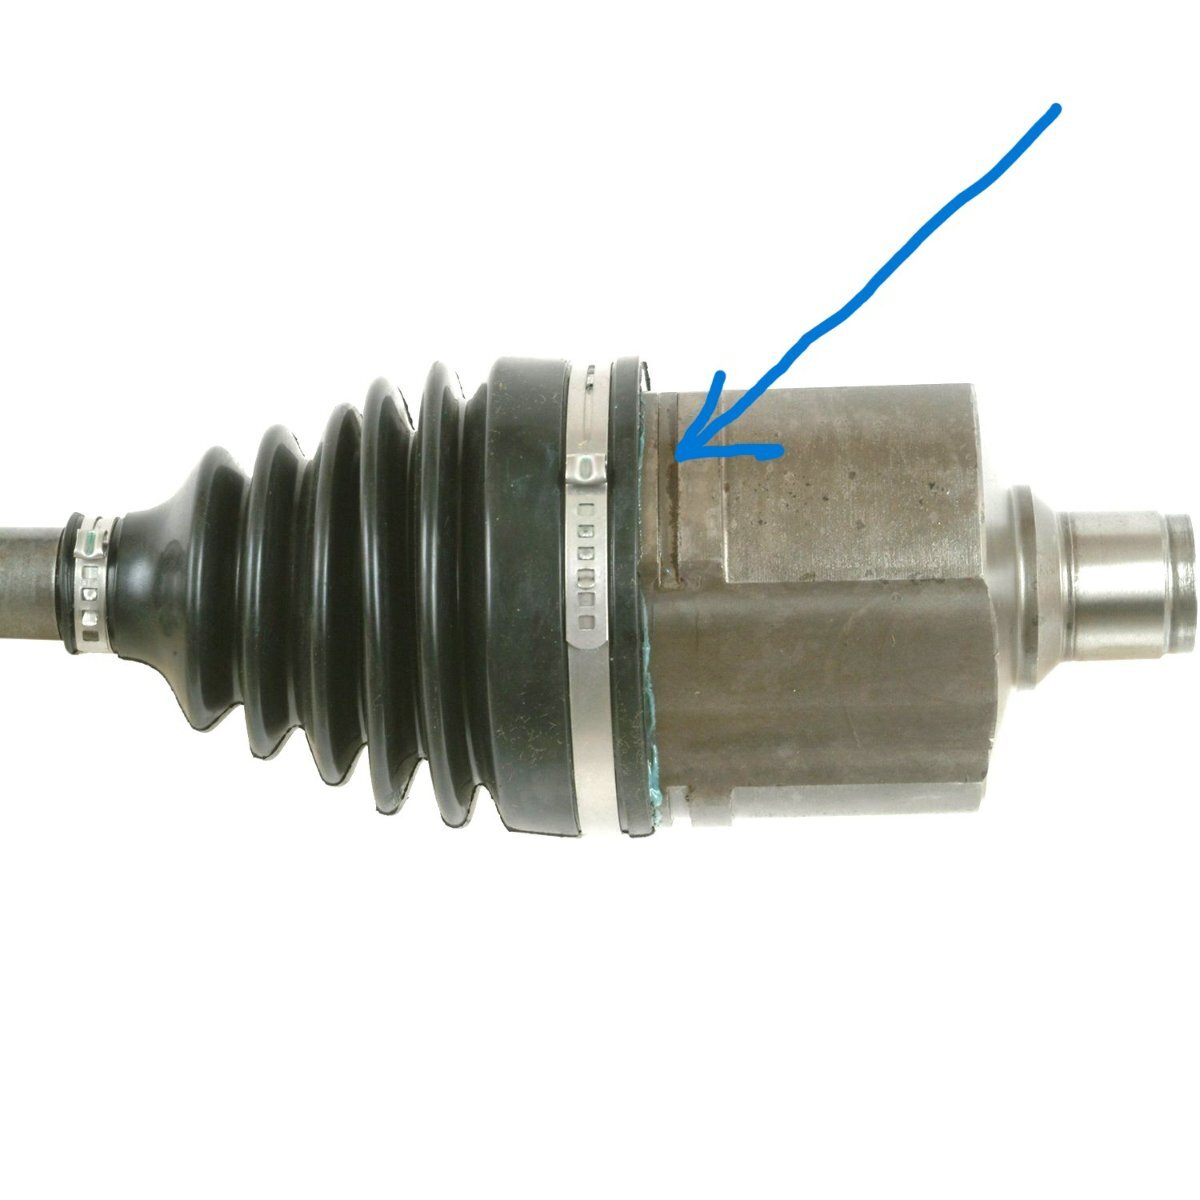
I had to install an axle in my Reatta a few years ago and this is what I remember. The axle and transmission splines have to line up properly to get the axle started inside the transmission. I don't remember anything else that needs to be lined up. After the axle slides in so far it will seem to stop. Then you will need to put a large screwdriver, or something similar, in the grove shown in the photo below and carefully hit the screwdriver with just enough force to get the axle to pop over the snap ring to lock the axle in place. As the FSM instructions said, don't push or pull on anything except the part of the axle that has the grove in it or the CV joints could come apart.
3 points
-
Update: SOLVED! I was about to give up and return the Delco coil pack and ICM, but for fun I put the old Magnavox pack on and it wouldn’t work either! I did I did a little googling and came across this old post: https://forums.aaca.org/topic/332605-1990-reatta-occasionally-wont-start/ His problem was that the coil pack wasn’t grounded. I already thought of this, or so I thought. I double-checked and tightened the bolt where the ground wire goes from the engine to the frame. I had loosened it to get to the screws for the coil pack and I thought I had tightened it enough, but I hadn’t. Once I tightened the bolts for both the ground wire and the coil packs, both coil packs worked! It just wasn’t grounded “enough.” Of course I removed the Magnavox one and installed the Delco as has been recommended to me by many people. So the good news is that yes, a coil pack from a 3300 engine (in this case a Buick Century 1993) is the same part and will work. hopefully that opens up some junkyard options for people. Thanks for the helpful comments.3 points
-
another project completed that made a huge difference in how the car was running and idling, i went thru the dx screen and codes , had a code for the cruise servo, ordered a new one on Rock Auto,. installation took all of about 20 minutes, maybe 30 once vac lines was replaced since the connection was cracked on the old one and broke off inside the hose, but once that all was done , took it out for a test drive and i guess that was one cause for vac leak and why the idle was slow and varied up and down. now it is steady and constant idle, and the cruise now works perfectly. Drove to work today and enjoyed being able to set the cruise on the highway for my 20 mile commute.3 points
-
Try www.car-part.com3 points
-
I have 4 servos in my parts bin and never replaced a one. Use the one off your parts car. Next week I will turn 331,000 miles on the Red of which 220,000 were put on by me.2 points
-
I understand you wanting to save spare parts when you can but the cruise servo may be the most plentiful part you can get for a Reatta. Your time would be better spent picking up a few spares at a junk yard and testing them on the car before storing them so you know you have good ones.2 points
-
You, can use any small air-tight tank to replace the vacuum tank.2 points
-
I built a 12 X 12 shed in the backyard just for spare parts.2 points
-
I had submitted a reply earlier but I see that it was lost. I am not so rude as to ignore either the information given me on this site or Ronnie's very kind request for an update. My axle did not have a grove, or any place I could hammer on to seat the snap ring so my only option was using my hands to push as hard as possible. I did put the axle in but never got that satisfying click or clunk that allowed me to feel confident it was properly seated. It sounds like it's turning the gears in the transfer case, but I figured when I installed the knuckle and hub I'd get a good idea of whether it was in as far as it is supposed to be. About that time I noticed I neglected to install the boot and stop on the new strut rod so I had to remove the strut assembly to correct that moment of stupidity. I then decided I did not feel the new strut, which had been in my garage for years, was working properly [the seals probably dried out] so I ordered a replacement that put the whole project on hold. I was then offshore for a few days and just returned. The strut should arrive today or tomorrow so I hope to have a more definitive answer on how this project went after that.2 points
-
i called and they say not available or in stock2 points
-
I've been active on a few "owners web sites" (cars, boats, RVs,) over the years. This has always been an issue. Someone asks for help, a lot of guys jump in, but there is no " Hey guys, I'm back on the road/water" thanks for the help. There doesn't seem to be a way the solve this..... No closure............2 points
-
I don't see a lot of wobble, although there is a little movement. It is called a flexplate, essentially sheet metal, and is designed to have some flexibility. The crankshaft can have up to five or six thousandths of endplay and the torque converter floats in and out. I think some of the visual is actually the counterweight appearing and disappearing.2 points
-
I wrote about this topic back in March. I installed the items listed below and have had zero problems with them: "I bought the LED headlights and Canbus Decoder from Amazon. Headlights cost $39.95: Amazon.com: H6054 7"x6" Chrome Housing Diamond Cut Headlights Replacement Glass H4 " 7x6 : Automotive D-Lumina H4 HB2 9003 LED Canbus Decoder Anti-Flicker Harness cost $25.99: Amazon.com: D-Lumina H4 HB2 9003 LED Canbus Decoder Anti-Flicker Harness, LED Bulbs Resistor Error Free Decoder, LED Warning Canceller Capacitors Resistor (1 Pair) : Automotive Handling, Shipping and Tax extra."2 points
-
Standard operation for Federal Reatta's: fog light switch on and the lights will go on and off with the ignition switch. Bear in mind, all lights except headlights will now operate with ignition.2 points
-
Thanks so much, Ronnie. That is just the information I needed. I will give that a try tomorrow.2 points
-
Burning smell and smoke? Yeah I think it went bad...2 points
-
Today is the one year anniversary of me selling my Reatta. I owned it for about 17 years. I still miss my Reatta but circumstances dictated it was time for me to sell it. Because of parts availability, my age, and my health, I think I made the right decision. I have a Mustang now, but to be honest I still miss a lot of things about the Reatta. When I sold my Reatta I was asked if I would keep ROJ going. As you can see I have done that. The annual fees required to keep ROJ are now due. I intend to pay the fees again this year even though a few donations to ROJ don't cover them. I think ROJ How-to Guides are a good resource for Reatta owners and I hate to see them go after spending countless hours over the years to put them on ROJ.2 points
-
There is what is called a "Blower Control module" and it is located on top of the fire wall under the hood. It is located just above the Blower. It is held in place with 3 each 7mm screws.2 points
-
Okay, rather then complain about the dearth of parts not available, maybe take advantage of my extra pair that is available. Sure they are fabricated but the struts in this kit are exactly the same specs that the Reatta calls for with that cars mounting brackets cut off. Then brackets were found that allows this strut to be mounted on the Reatta seamlessly with the "alignment" groove in the correct location. It is a proven solution.2 points
-
My Reatta sat in a garage/pole building (concrete floor, but no heat) for two years after my father was no longer able to drive. The interior was covered with mildew and there were several mouse nests under the hood that would smell like, well, hot mouse pee when I drove the car. Meticulous inspection from up top and under the car revealed all of the locations. Shop vac with crevice tool followed by steam cleaning got rid of the mouse issue. The interior cleaned up readily using standard cleaners and leather conditioners. I cleaned the carpets (without removing them) with our household hot water extractor unit and everything looks as good as it should for a car with 26k miles. I used Febreeze on the carpets and also sprayed some into the intake for the HVAC when it was running.2 points
-
I saw a post by Marck on his Facebook page indicating he was working with another shock/strut manufacturer (not Monroe this time) to produce another batch of rear struts. I too have started to stockpile components and have two sets of rear struts, a set of front struts, caliper rebuild kits, ignition parts, etc. Though, putting on less that 1000 miles a year I may never need them, but there is a lot of emotional history with my car as it belonged to my father and I plan on giving it to one of his grandchildren some day.2 points
-
back in the day when we were doing compass mirrors in our Reattas I also grabbed a couple from Olds Intrigue. They used a different harness from the Reatta but as luck would have it the harness is the same as the Regal making it plug and play. So now this directionally challenged driver has some idea where I'm going!2 points
-
Start by pulling the glove box out and look around inside the dash from there. Just remove a few screws and it comes right out. Then pull the kick panel off the driver's side and look up inside the dash from there. I would avoid removing the brittle plastic parts if possible. Have you turned on the A/C and heat to see if the smell is stronger from the air coming out the vents? If it is you can remove the blower motor and blower control module on the firewall and see what you find in there.2 points
-
so it was a low voltage issue, once i got the battery fully charged back up from it sitting for a week not driving it, the flicker is gone. Phil2 points
-
The strut you need is discontinued. However there was a long post some time ago using a different strut from Monroe that had the same specifications, we were able to fabricate a working rear strut complete with the correct mounting bracket that also had to be fabricated. Marck at East Coast Reatta had contacted Monroe and had a run of 500 #71966 struts made but that is also now sold out. He was selling them for $499.95 a pair plus freight. I have one extra set of the fabricated rear struts available. My price is $375.00 with freight. Contact me if interested.2 points
-
Car has been running great so much so that I drive it way more then the Reatta. I now drive the Reatta on nice days. Treating it like the collector car it is!2 points
-
I had to run a wire from the engine compartment into the inside of the car to a toggle switch. I didn't do it the expert way. I did it the easy way. 🙂 If you look at the base of the steering column where it goes through the firewall you will find a rubber bellows like seal around the steering column. You can use a sharp pointed awl or similar tool to pierce a small hole in the rubber seal (smaller than the wire) and then force the wire through it. That will give a good seal around the wire and you won't have to drill any holes. Someone may have a different idea on how to do it but that worked for me without doing much damage to the car.2 points
-
Thanks for all the help. Turned out the problem was the shoulders that the bolt from the motor turns were smoothed out, so turning the motor did nothing. The arms were also stuck. I was able to work them loose with a long screwdriver. Driver side worked fine, but I went ahead and replaced both. Everything works terrific now. Next stop... the radio.1 point
-
Yeah, I borrowed the axle picklefork from AutoZone to get it out. I guess I'll yank on to see if it's secure. If it comes out, I will have to pull the axle to make sure the circlip is not damaged.1 point
-
It certainly is a one of a kind and an interesting take on the paint scheme I had not seen before. To make it easier to understand your comments or questions, including the other thread, you might help us understand better by adding some punctuation in the run on sentences. Low miles is a definite bonus👍1 point
-
You can also narrow down your search to find something more specific by putting quotation marks around the words you are searching for. For example if you put "modulator valve" in the search box you get the results in the link below. Searched for '"modulator valve"' in Topics (reattaowner.com)1 point
-
Rust on the steel line is the most common failure point but the crimped on rubber hose is really just a sort of hose clamp. You may be able to salvage the assembly by removing the crimped sheet metal clamp, remove the damaged hose portion and reassemble with two new clamps 90*apart. The best is a crimped type clamp (Oetiker style)1 point
-
Are you talking about E85 conversion?1 point
-
It was a long process, with a Mercedes in the running at one point, but in the end a Mustang won the fight for a stall in my garage. 🙂
1 point
-
Sometimes people just need a little guidance when working on their cars.
1 point
-
https://forums.aaca.org/topic/138583-fuel-leveldraw-problem/ found this discussion over on the AACA.org forum - and one other poster noticed the same thing he said "The second fuel gauge display just gives you a more detailed look at the remainder of your gas. My '90 coupe starts making noises in the tank, just before reading empty. I had to run out of gas once to convince myself that when the pump growls, I better feed the tank." so its hot out and maybe pump is not getting cooled or lubed? also in that thread one person stated there is a in the tank sock or screen so at some point i will pull the tank, put in the new pump. I think my sender is fine, so i will leave that alone for a while, not really looking forward to pulling a tank. Phil1 point
-
One of my old posts, dealing with a skunk smell1 point
-
Boy that's strange. The part of the strut mount that bolts to the shock tower and centers the strut rod looks pretty much identical to the OEM. I am guessing that if we don't align the spring on the strut perches exactly as they need to be, it's going to offset the strut rod. Given the forces at play there, it won't take long for the rod to destroy the top mount. Far as I can tell the only way to get it right is to mark the spring and the old strut before disassembly because once the spring is compressed with our DIY spring compressors for reassembly, it's pretty much impossible to tell how it's going to line up once the compressors are released.1 point